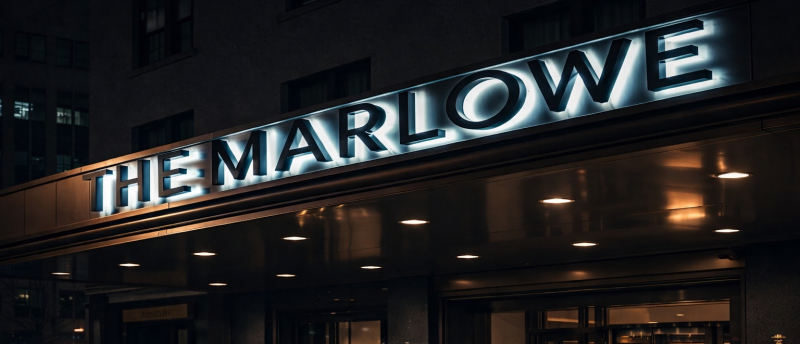
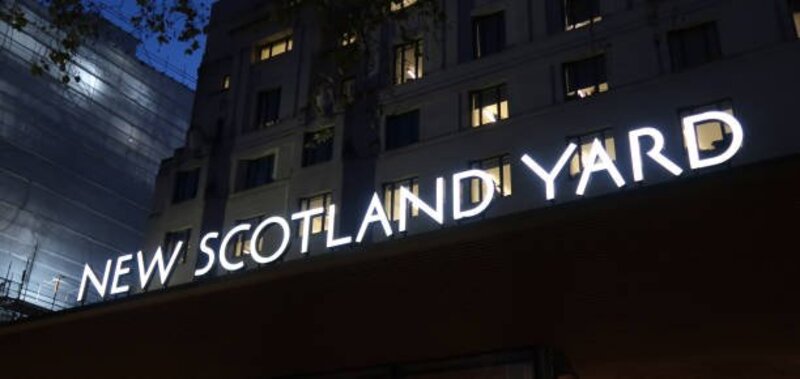
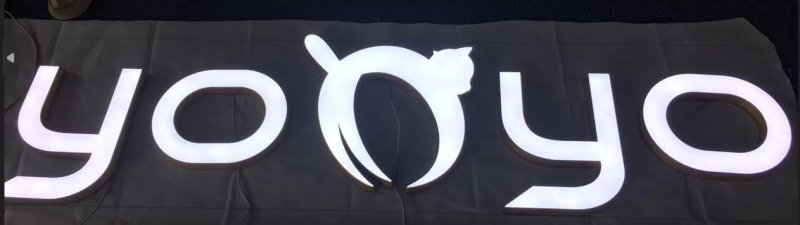
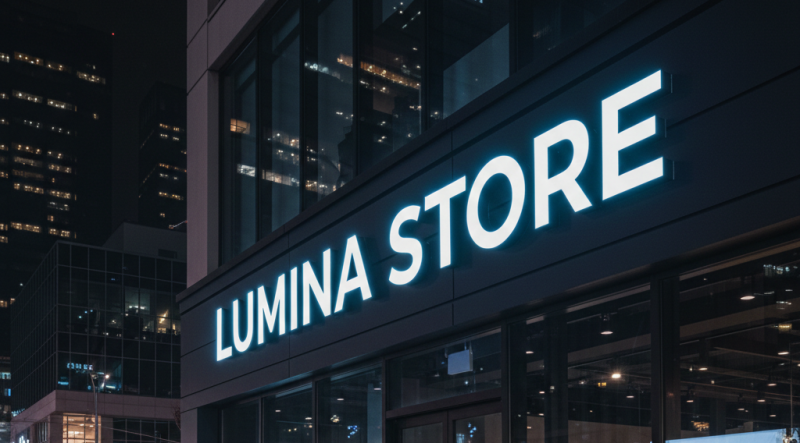
Backlit letters, also known as LED backlit signage, illuminated back letters, and glow‑back letters, are dimensional signs designed with internal LED lighting that produces a bright and even illumination from within or behind the letter structure. This creates strong visibility and a clean, modern glow that highlights brand identity.
Manufactured using aluminum returns, acrylic faces or backs, and precision‑installed LED modules, backlit letters deliver consistent brightness and durability. Commonly used in storefront signage, office branding, hotel signage, mall displays, and restaurant signage, backlit letters provide a professional look suitable for both indoor and outdoor environments.
Why Businesses Choose Backlit Letters
High Visibility Impact – Bright illumination improves brand recognition day and night.
Even Light Distribution – Smooth glow ensures clear readability from distance.
Energy‑Efficient Lighting – LED modules consume low power for cost‑effective operation.
Custom Design Options – Available in various sizes, fonts, and finishes to match brand identity.
Durable Construction – Weather‑resistant materials support long‑term use.
Low Maintenance Operation – Long LED lifespan reduces servicing needs.
Built for Modern Commercial Requirements
Our fabrication process focuses on precision manufacturing, lighting consistency, and installation readiness. Digital proofs, accurate sizing, and calibrated LED placement ensure clean illumination and sharp letterforms.
Advanced routing, bending, and assembly create backlit letter signage suitable for:
Retail storefronts
Corporate buildings
Hospitality venues
Shopping centres
Restaurants and cafés
Office interiors
Backlit Letter Installation Options
Direct Mount Backlit Letters – Clean installation with strong wall illumination.
Raceway Mount Installation – Ideal for large façades requiring organised wiring.
Backer Panel Mounting – Ensures alignment and simplified installation.
Popular Business Applications
Storefront Backlit Letters – For retail shops and brand outlets.
Hotel & Hospitality Backlit Signs – For receptions and façades.
Corporate Office Backlit Letters – For logos and building signage.
Restaurant Backlit Signs – For cafés and dining spaces.
Mall & Commercial Backlit Signage – For showrooms and centres.
A Smart Investment for Growing Brands
Each project is completed as custom backlit letter fabrication tailored to brand and location needs. With low energy usage, durable materials, and minimal maintenance, backlit letters deliver strong ROI for both new and established businesses.
Upgrade Your Space with Backlit Letters
Backlit letters combine strong illumination with modern style, making them ideal for commercial branding. From storefront signage to interior logos and building signs, these letters enhance visibility and brand presence.
Choose backlit signage for bright, energy‑efficient, and memorable branding.